


I promised....
Today, I promised Beth a new post. Who am I to disappoint?
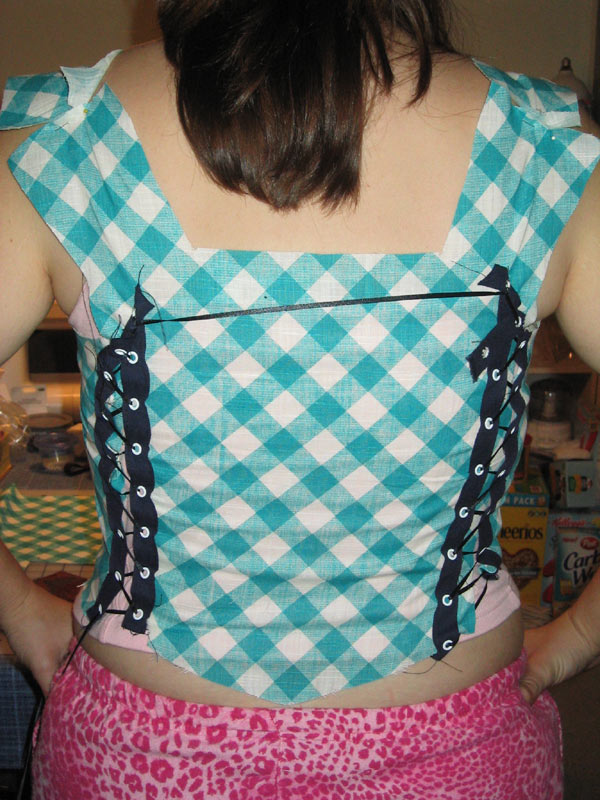
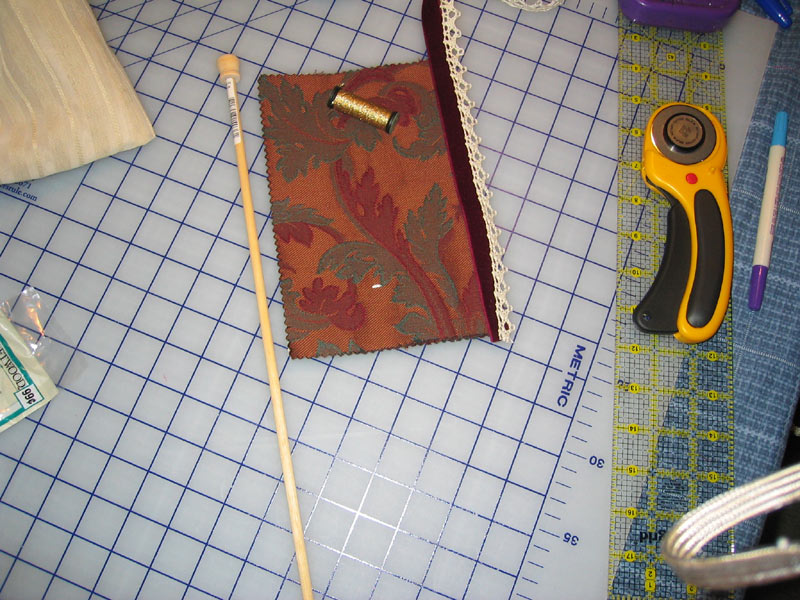
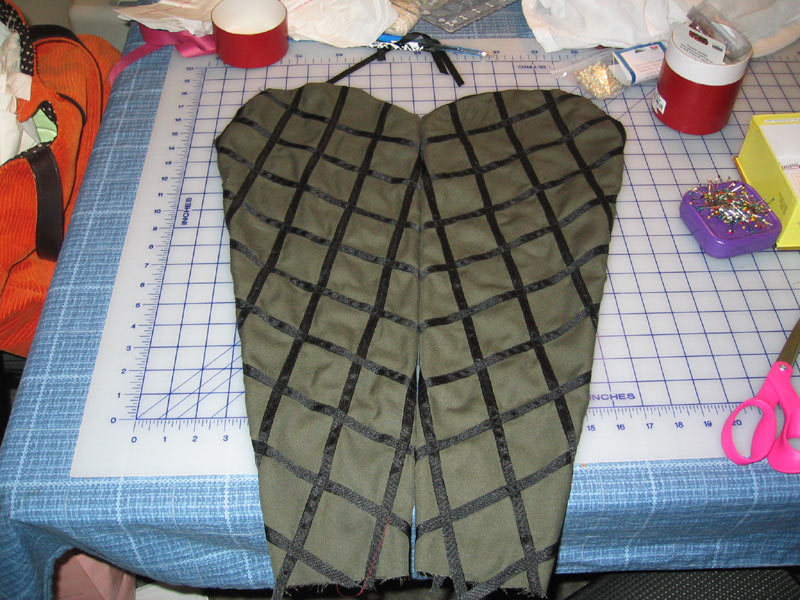
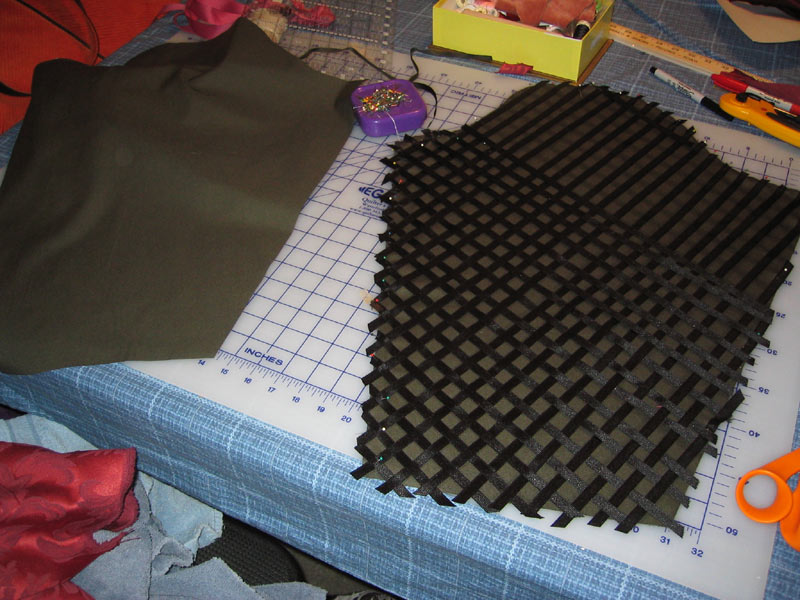
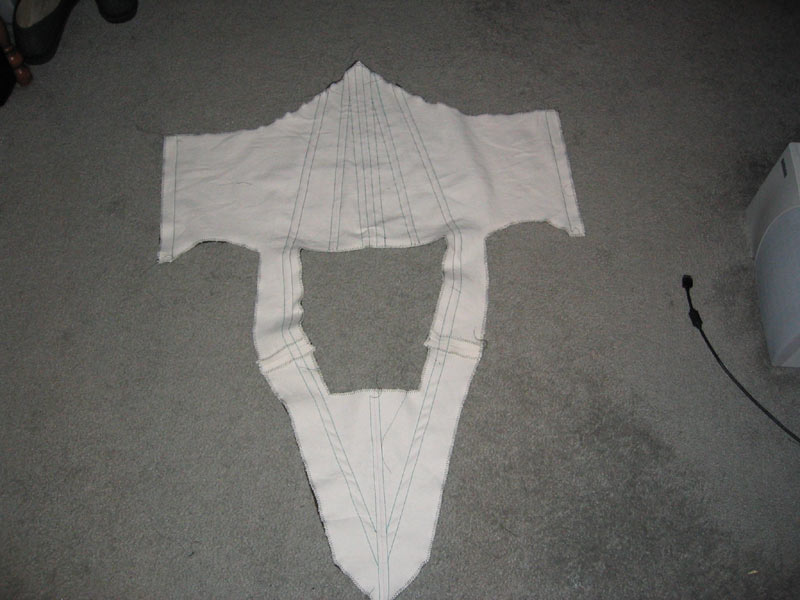
Contrary to what my blog may seem to tell the public, I have been diligently sewing. Mostly on the bodice. The bodice is two layers of denim into which boning channels are sewn. I used zipties for boning, and some poly from joann's for the long pieces that go over the shoulder straps. The front is faced with the orange "cut velvet", and the back is lined with a burgundy silky something or other purely cuz I'm vain, and its pretty.
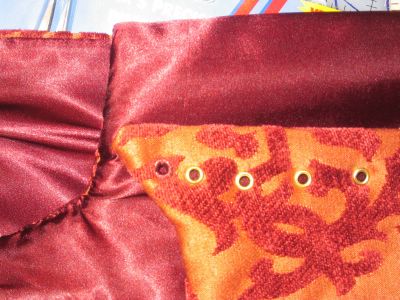
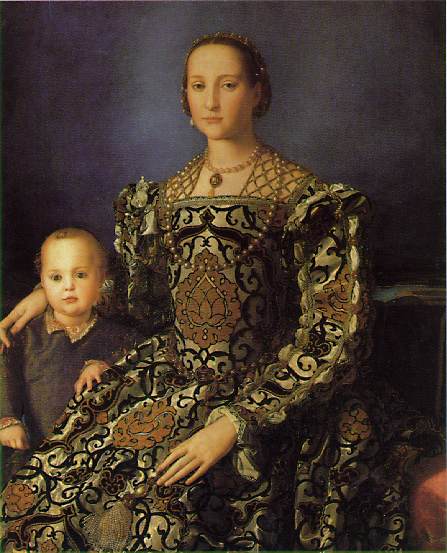
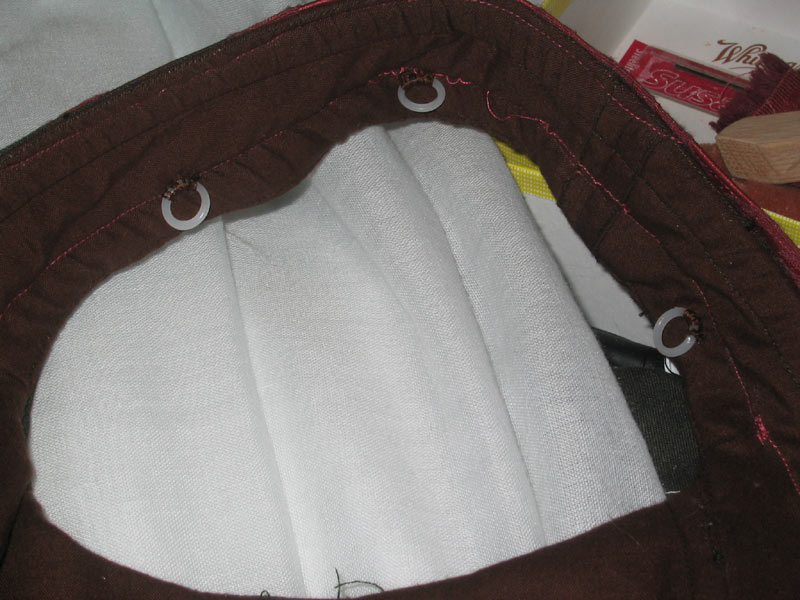
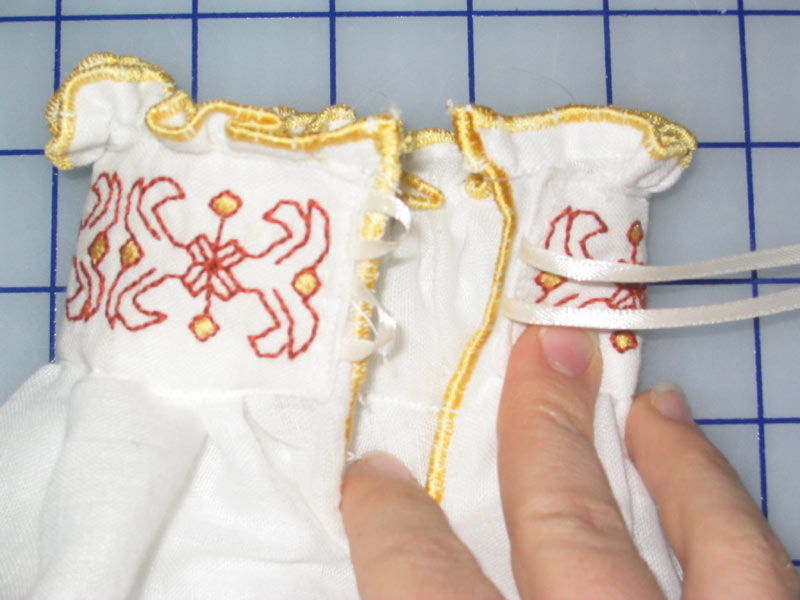
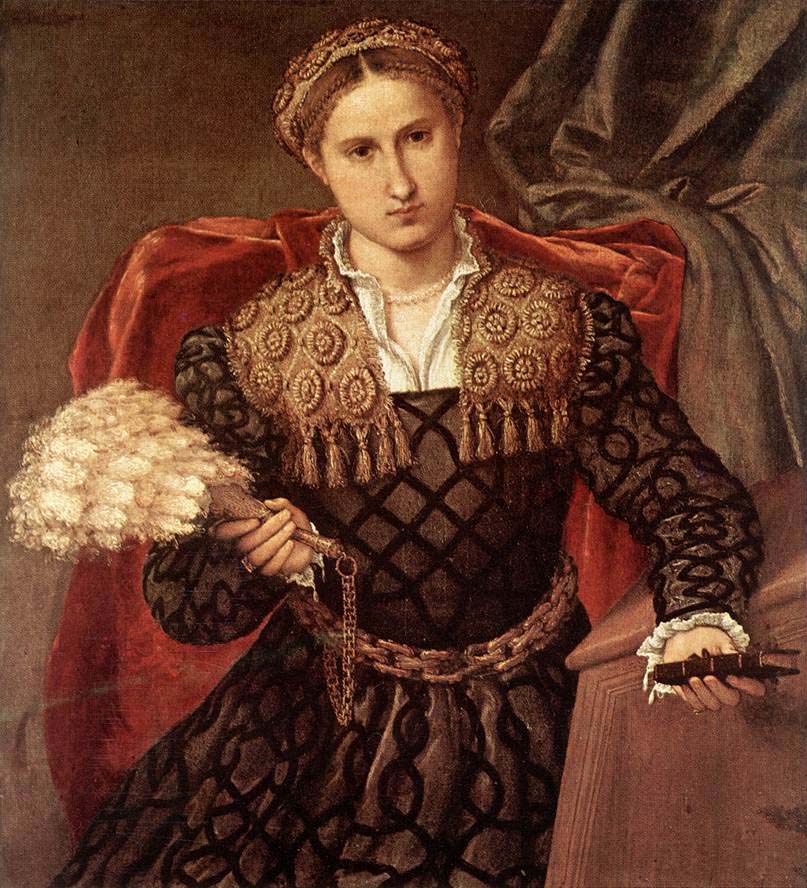
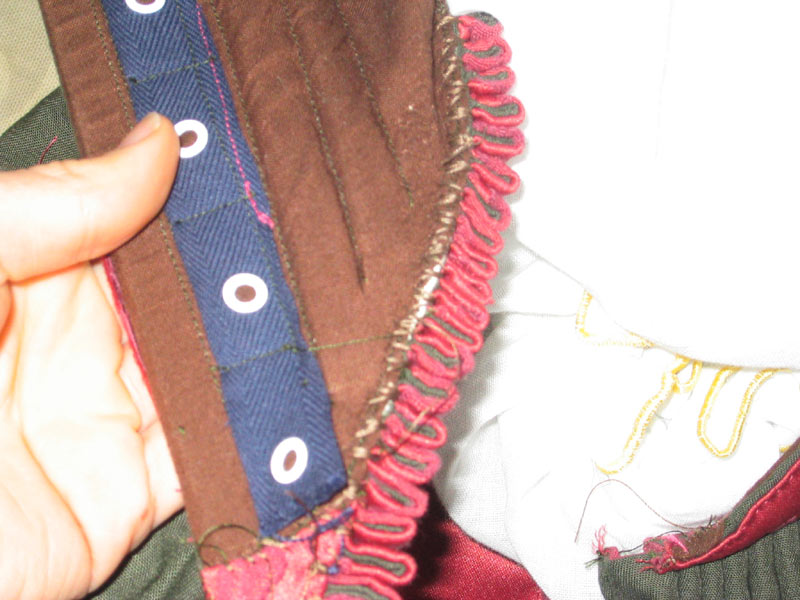
I started putting the eyelets in for lacing. I was soooo tempted by the lacing ring suggestion, but one test run and it didnt' quite lay like I wanted. And since the di Toledo bodice has the eyelets, seems the thing to do. I am a cheater, though. I use metal eyelets and cover them in thread. The first one is covered, albeit poorly. Now just imagine this down the whole bodice. OH, and this is my first attempt at spiral lacing (thank you, Jen T!), so wish me luck, so far its a bit, well, curvy. But its on my side back, so hopefully it won't be too noticeable.
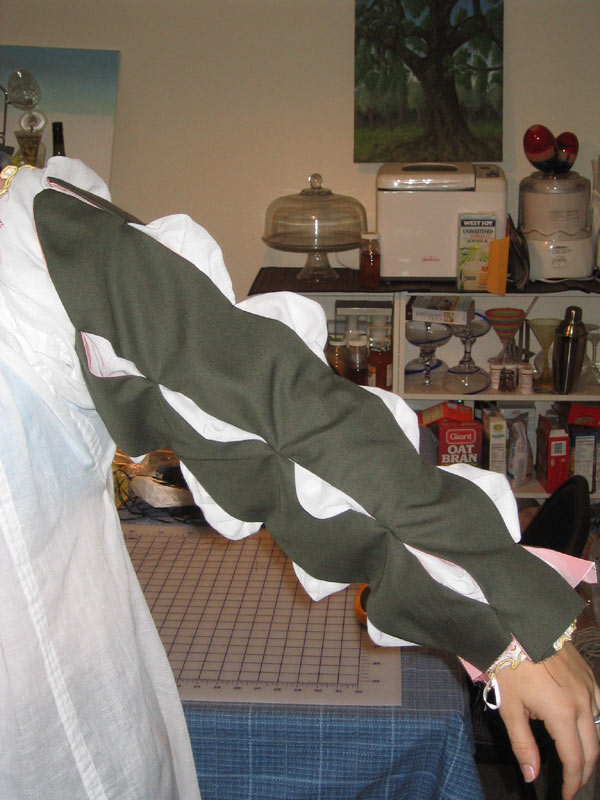
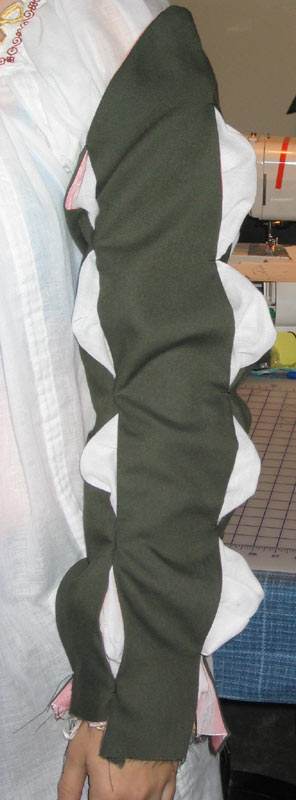
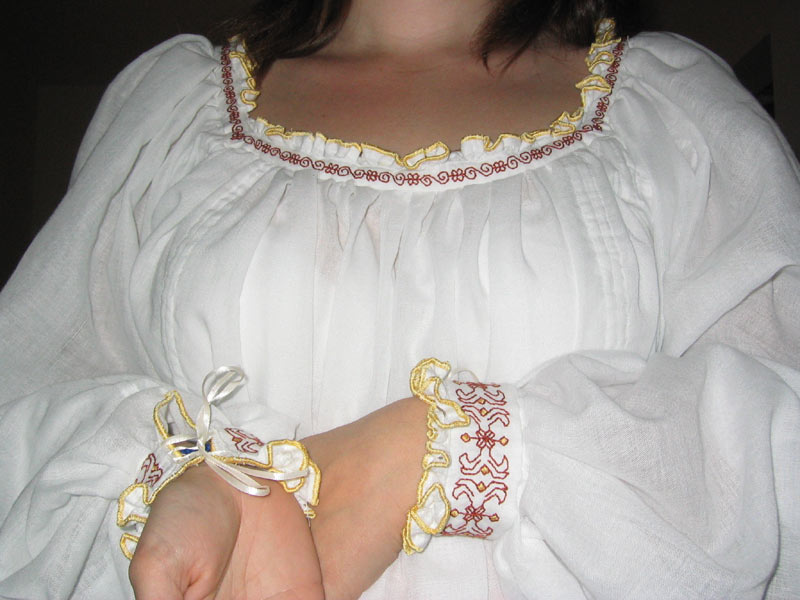
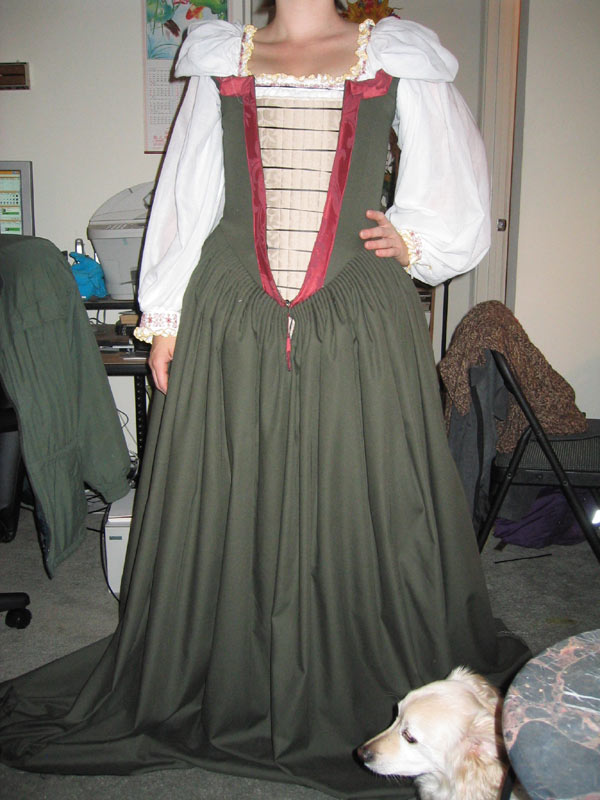
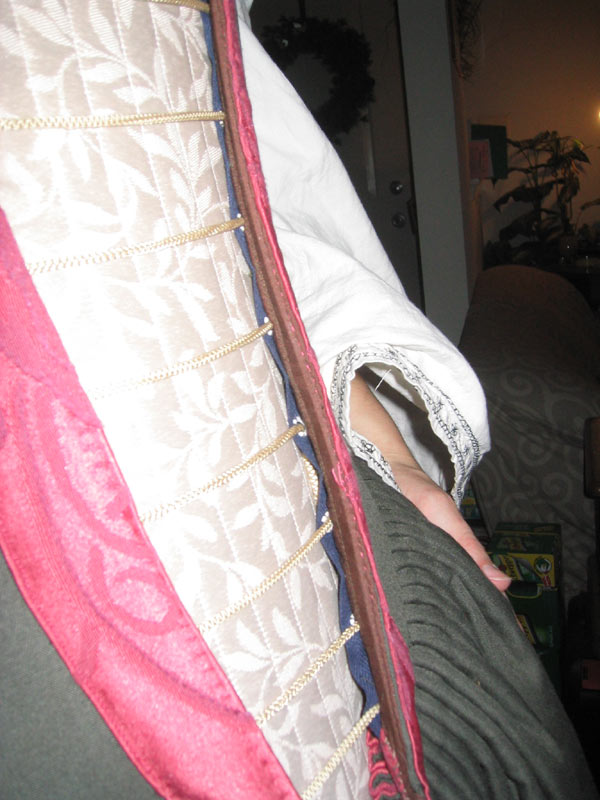
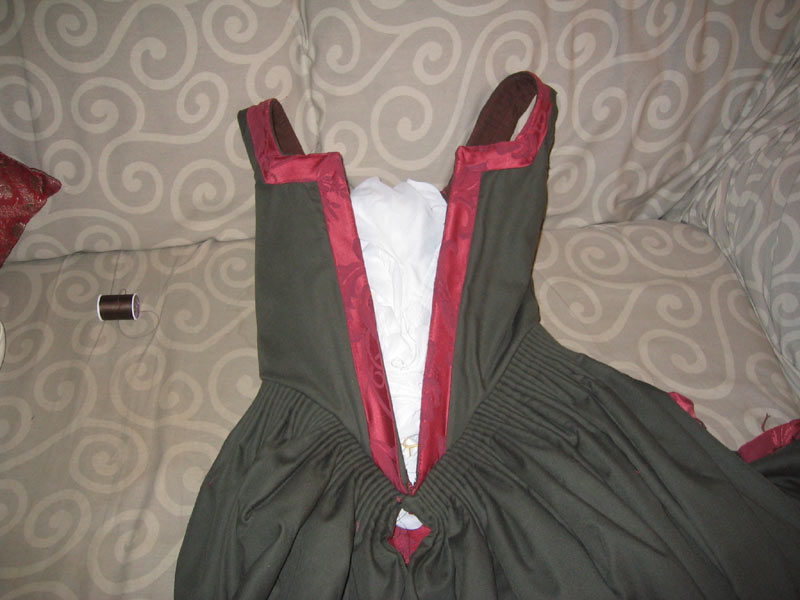
The eylets aren't done (not all put into the fabric yet), and so I couldn't try it on properly, but I thought my blog deserved some attention. Here is me holding it on just to get the effect, those wrinkles will hopefully disappear when properly laced:

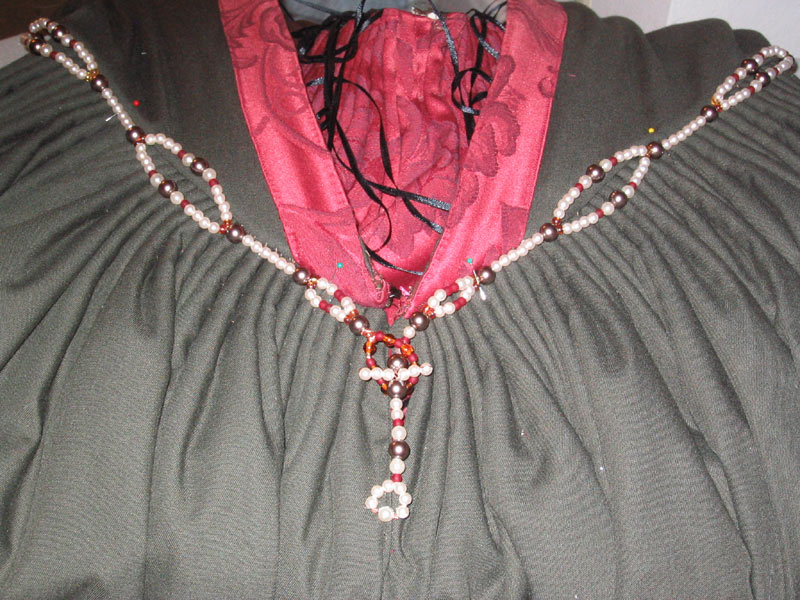
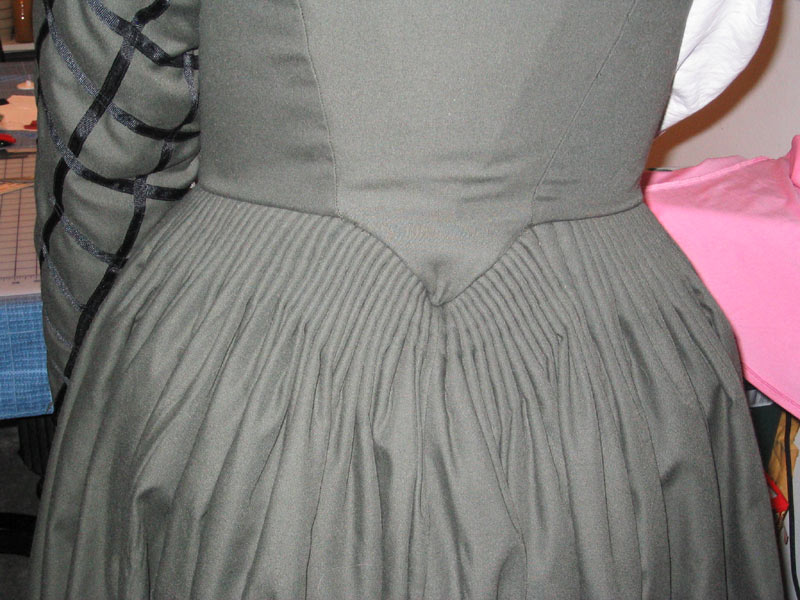
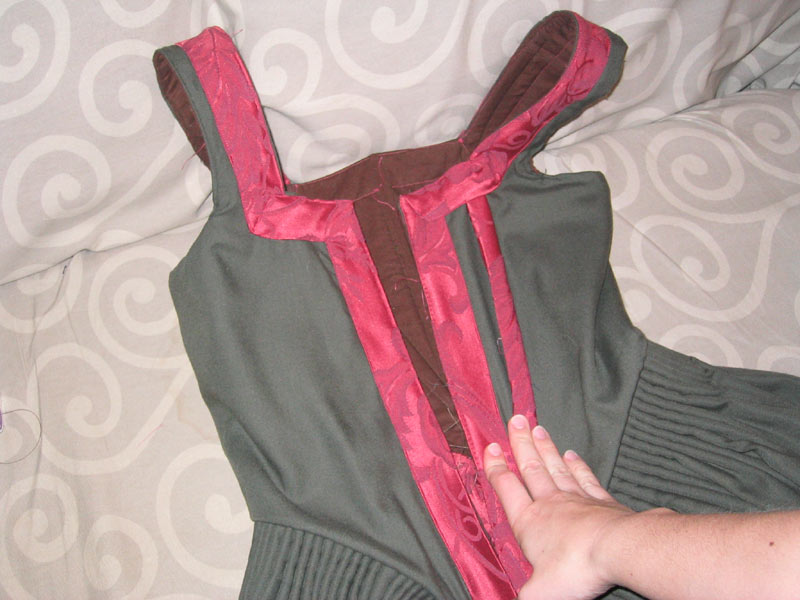
The guard around the neckline is burgundy wool that I was forced to sew on by hand, which is why this has taken me so long to post. I'm the slowest hand sewer ever. ;-) ANd hubby stopped my insanity by banning me to sew pearls along the neckline. He said it would be too busy. Now that I bought my brooch (okay, its an earring), I'm inclined to agree. Thank you hubby for saving me from me!
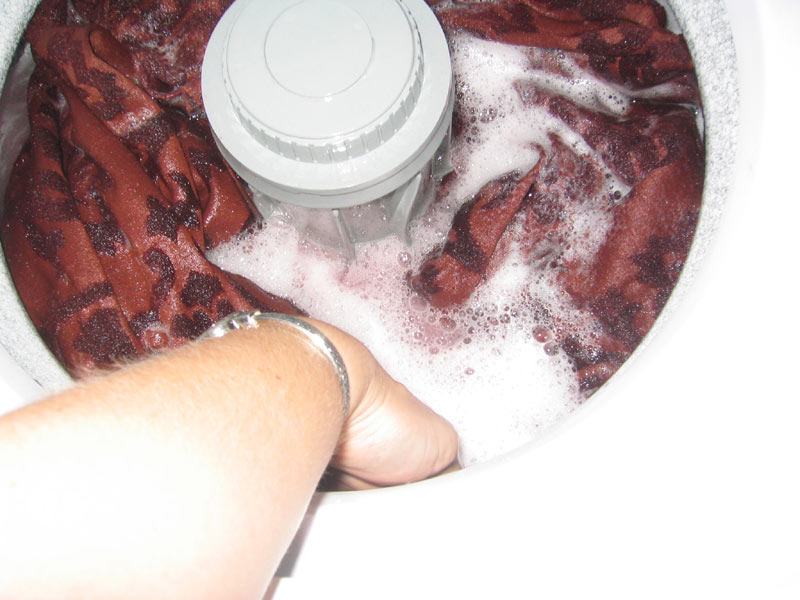
Oh, and I jsut noticed the appearance of my SECOND pair of leopard print pj pants on this little blog. Chuckle. I'm a jungle princess. Roar.
Contrary to what my blog may seem to tell the public, I have been diligently sewing. Mostly on the bodice. The bodice is two layers of denim into which boning channels are sewn. I used zipties for boning, and some poly from joann's for the long pieces that go over the shoulder straps. The front is faced with the orange "cut velvet", and the back is lined with a burgundy silky something or other purely cuz I'm vain, and its pretty.

I started putting the eyelets in for lacing. I was soooo tempted by the lacing ring suggestion, but one test run and it didnt' quite lay like I wanted. And since the di Toledo bodice has the eyelets, seems the thing to do. I am a cheater, though. I use metal eyelets and cover them in thread. The first one is covered, albeit poorly. Now just imagine this down the whole bodice. OH, and this is my first attempt at spiral lacing (thank you, Jen T!), so wish me luck, so far its a bit, well, curvy. But its on my side back, so hopefully it won't be too noticeable.
The eylets aren't done (not all put into the fabric yet), and so I couldn't try it on properly, but I thought my blog deserved some attention. Here is me holding it on just to get the effect, those wrinkles will hopefully disappear when properly laced:
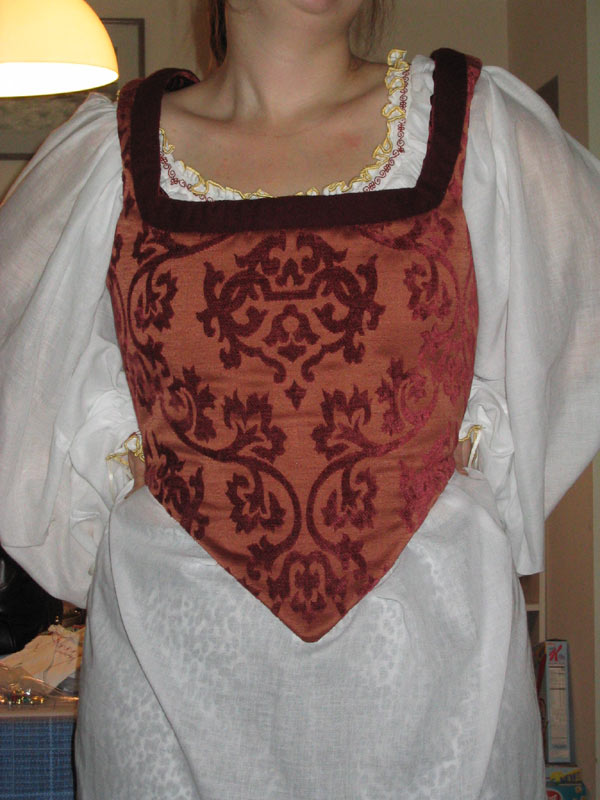
The guard around the neckline is burgundy wool that I was forced to sew on by hand, which is why this has taken me so long to post. I'm the slowest hand sewer ever. ;-) ANd hubby stopped my insanity by banning me to sew pearls along the neckline. He said it would be too busy. Now that I bought my brooch (okay, its an earring), I'm inclined to agree. Thank you hubby for saving me from me!
Oh, and I jsut noticed the appearance of my SECOND pair of leopard print pj pants on this little blog. Chuckle. I'm a jungle princess. Roar.


